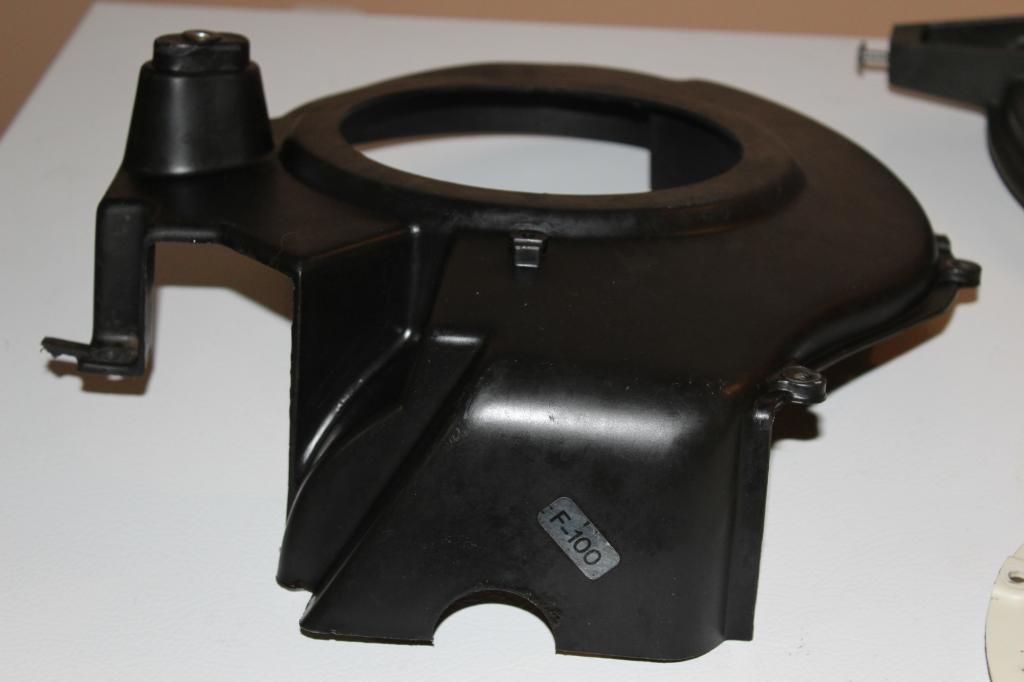
The oxidized area of the shroud that outlines the area of the gas tank is a product of the interaction of the fuel and the shroud plastic. I just clean and paint the whole shroud with the same grabber green color High temp fuel resistant engine enamel that I repaint the deck with. Never yet had a problem with it.
You are using an out of date browser. It may not display this or other websites correctly.
You should upgrade or use an alternative browser.
You should upgrade or use an alternative browser.
Opinion on buying a Lawn Boy
- Thread starter Vervepipes
- Start date
More options
Export threadVervepipes
Well-Known Member
- Joined
- Mar 25, 2014
- Threads
- 13
- Messages
- 357
My deck plate, the part that covers the bagging hole, is so badly oxidized that I'm not sure it's salvageable, at least the letters will be permanently screwed up. I have 2 spares, a correct coloured green one from a slightly newer F100 powered mower, and a black one from a newer style silver series, but from memory, the green one is deeper and not exactly the same. I'll have to see which works best. Right now the deck is stripped down to wheels, and the basic engine block. Plastics will get washed in mild detergent soon and will get stored until the rest is complete.
Vervepipes
Well-Known Member
- Joined
- Mar 25, 2014
- Threads
- 13
- Messages
- 357
OK, so neither the silver series or the part's mower's deck plates work on this deck, they both overhang the front of the deck by 1/2 to 1 CM. I'll try to restore the original but I'm afraid that it may simply be too far gone and needs to be replaced with a better one. What I may do is install one of the spares until another like it pops up, or maybe even try to trim the black silver series plate and paint it. Other than the overhand it fits and does the job. The spares I have are dished where the original is not, and feels like a solid brick of plastic.
The tires and wheels are also pooched, I have the right size of ball bearing wheel for the rear that I picked up for my '67 Gilson snowblower, luckily I haven't welded the stub axles to them yet, so I just need to go pick up some wheels for the front.
Here it is, the deck is down to nothing but the deck, and the engine is removed. I think all I'll do to the engine for now is clean it up and paint the muffler, there is definitely no lack of compression and from a quick look the seals don't seem to be blowing by or leaking.
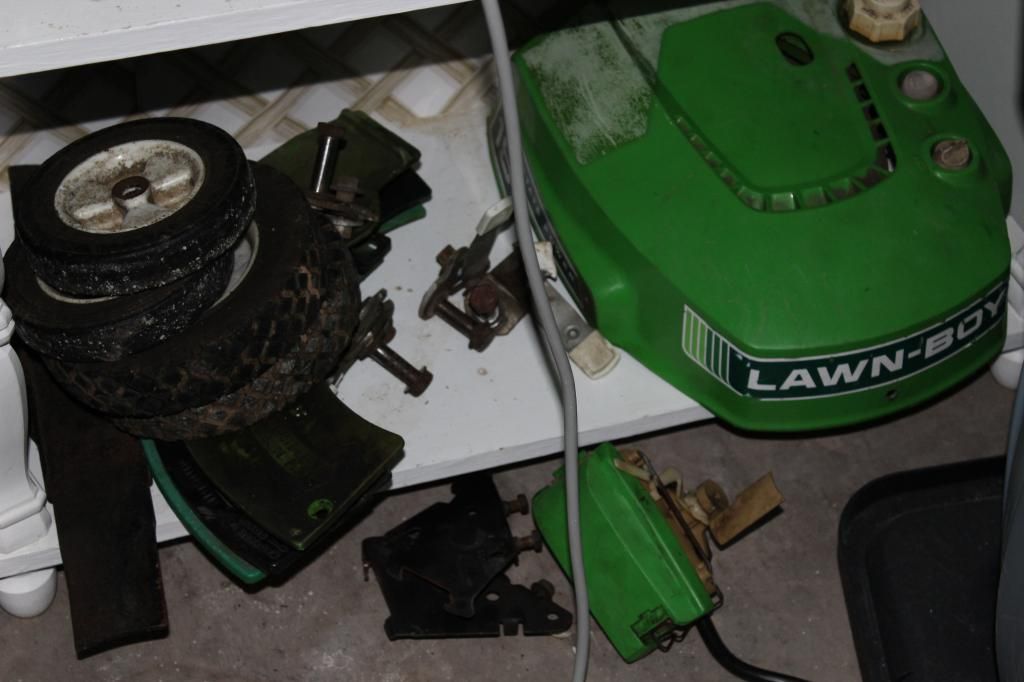
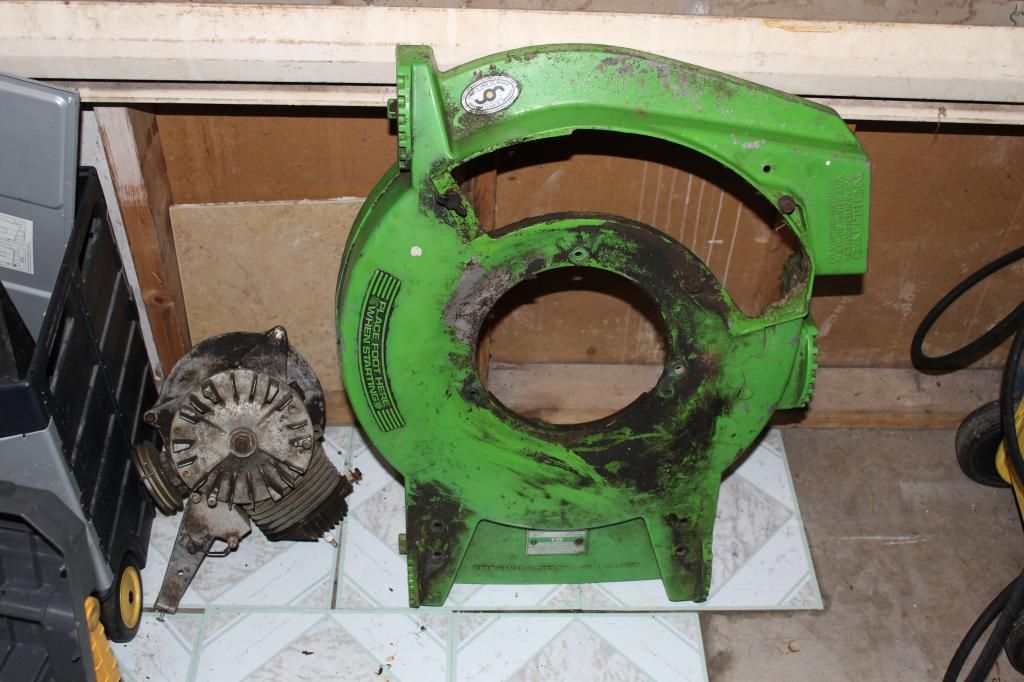
The plastic parts have almost all been washed in mild detergent, here is what I got done tonight.
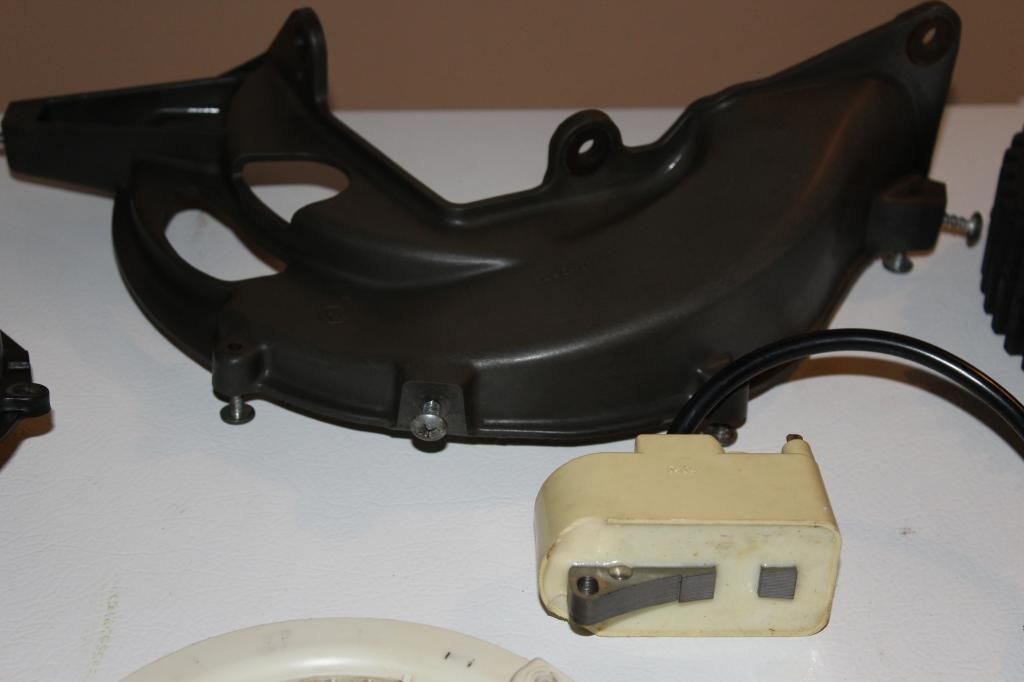
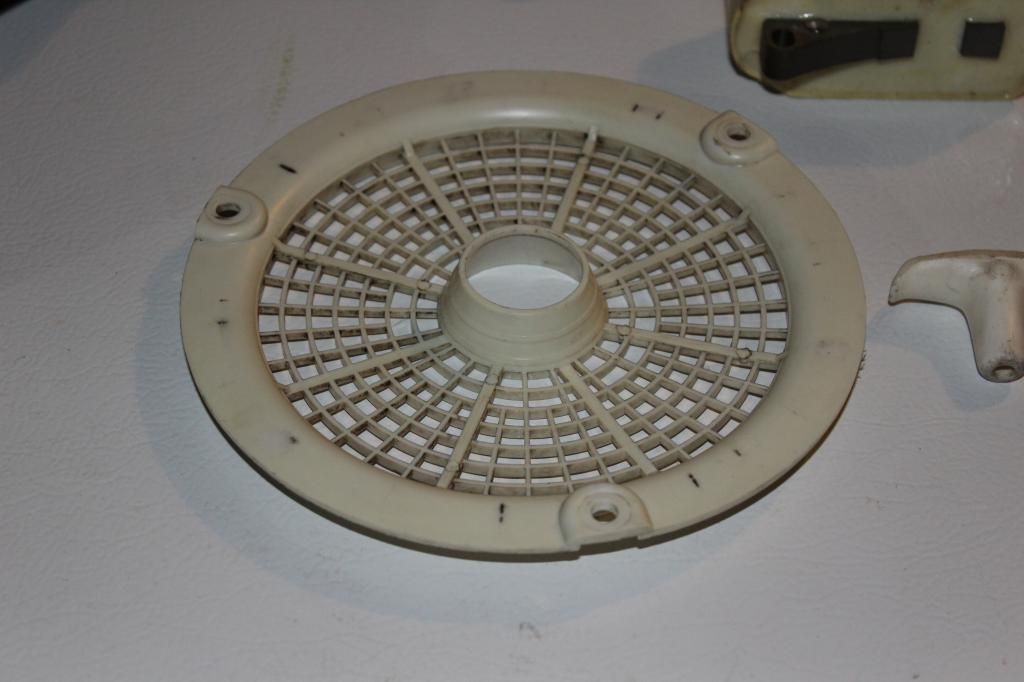
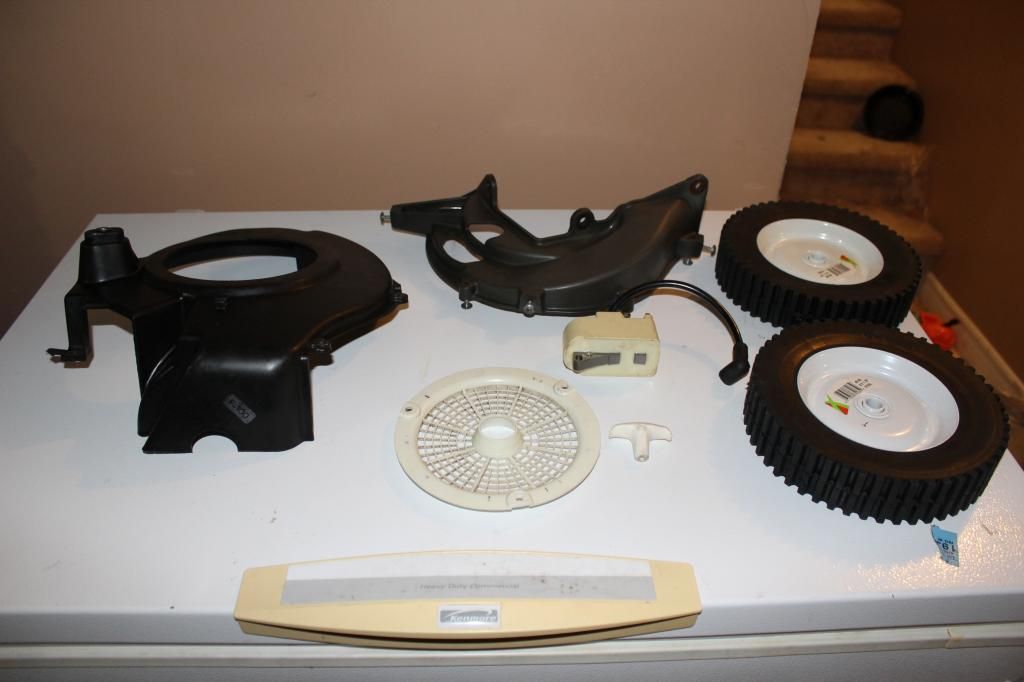
The bolts for the handle brackets, engine mounts and wheel adjusters will be replaced with stainless steel to have a bit more resistance to galvanic corrosion, maybe I'll even put thin plastic washers between the bolt head/nuts and the deck to further increase resistance. I hate rust.
Well, that's all I have for tonight. Maybe this weekend I'll hit up a coin op car wash to pressure wash the engine and deck to get all the crud off. It's below freezing now so I can't use my own, it's hibernating in the basement next to the Lawn-Boy. If I'm done with the mower quickly enough, it's frame will be next for paint, and if I'm REALLY done fast, maybe the Toro will get the star treatment as well. Man I wish my garage was built already, I have such a small corner of the utility room to work in!
The tires and wheels are also pooched, I have the right size of ball bearing wheel for the rear that I picked up for my '67 Gilson snowblower, luckily I haven't welded the stub axles to them yet, so I just need to go pick up some wheels for the front.
Here it is, the deck is down to nothing but the deck, and the engine is removed. I think all I'll do to the engine for now is clean it up and paint the muffler, there is definitely no lack of compression and from a quick look the seals don't seem to be blowing by or leaking.


The plastic parts have almost all been washed in mild detergent, here is what I got done tonight.


The bolts for the handle brackets, engine mounts and wheel adjusters will be replaced with stainless steel to have a bit more resistance to galvanic corrosion, maybe I'll even put thin plastic washers between the bolt head/nuts and the deck to further increase resistance. I hate rust.
Well, that's all I have for tonight. Maybe this weekend I'll hit up a coin op car wash to pressure wash the engine and deck to get all the crud off. It's below freezing now so I can't use my own, it's hibernating in the basement next to the Lawn-Boy. If I'm done with the mower quickly enough, it's frame will be next for paint, and if I'm REALLY done fast, maybe the Toro will get the star treatment as well. Man I wish my garage was built already, I have such a small corner of the utility room to work in!
Vervepipes
Well-Known Member
- Joined
- Mar 25, 2014
- Threads
- 13
- Messages
- 357
I pressure washed the deck today and picked up a few things to help me along. I got two ball bearing wheels for the front, the tread isn't the same, but it wasn't the same when I began the project anyways. I also picked up a small bench vise just large enough to hold the small parts that need grinding and painting, and some new wire wheel rotary tool bits. I need new wheel bolts, but the stores don't have those out anymore due to the seasonal change, so I may have to use some spares until I can get new ones. The originals are badly mushroomed at the ends and have the most wear I've ever seen on a wheel bolt. All the wheels are white, but since they were purchased at different times and are likely different manufacturers, I may paint them Chevy orange like the commercial wheels. I really want to get the deck done so that I can get parts back on as I complete them, but weather will be my enemy. There is a day with 11 degrees in the forecast but there is no way I can get it done by then. Since the deck is not cracked through, I think I may just stop drill and braze the visible cracks.
Vervepipes
Well-Known Member
- Joined
- Mar 25, 2014
- Threads
- 13
- Messages
- 357
Looks like I'll be painting the wheels. On their own, each set looks very white, but put them together and the front wheels look almost bluish. No problem, just adds another stop to my list, I just hope I can mask the tires off well enough so it doesn't look bad. I started on the wheel adjusters too. I didn't bother with the axle bolts though, they are toast and are only on the adjusters to hold the washers until the new bolts are in. Pictures will come later tonight.
Vervepipes
Well-Known Member
- Joined
- Mar 25, 2014
- Threads
- 13
- Messages
- 357
The engine is almost completely apart, the piston is still inside the cylinder but the case has been opened up. That's when I noticed during light cleaning that the bracket for the fuel tank is cracked almost completely off. Tomorrow I'll bring the spare F100 from the shed and if it's in better shape I'll use that engine block. Maybe the seals will be in good shape as well, but I'm not holding out any high hopes. From the little I could see inside the cylinder, the walls and piston are in great shape so it sucks that the bracket is cracked so badly. I'll try not to feel too down until I evaluate the spare. Worse case I use the best of both. The carb leaked on the original mower, the spare has a rotten muffler, already used the spare's tank. I hope to have the engine reassembled by the first week of the new year, what will slow me down is the shipping time on the seals, there is a Toro dealer in town but I don't know how good the old Lawn Boy stock is for availability. I'll make an ebay shopping list and compare prices.
The muffler has been degreased and will get the wire wheel treatment soon in prep for high heat paint. It is in VERY nice shape, looks like the self lubricating properties of the leaky seals has extended the life of this antique muffler.
As for the deck, I decided for sure that I'll try to braze the cracks. All adds that I've responded to for welding services do steel only, so I'm out of luck. Worse case it costs me a few bucks in brazing rods and it sucks, then I clean it up and pay somebody to do it properly, but I'm certain it will do the trick looking at videos of aminum brazing techniques. Long ramble over.
I've never had much success gas brazing aluminum. I bought special powder flux and the aluminum brazing rods. Results were not pretty. I'd try to find a welding shop that could TIG weld it. Make sure the deck isn't magnesium, trying to gas braze it would be disastrous.
Jeff
Jeff
Vervepipes
Well-Known Member
- Joined
- Mar 25, 2014
- Threads
- 13
- Messages
- 357
I've made sure it's aluminum by the build date and to be sure I tried to ignite a sliver. Aluminum it is. I pulled the spare engine in this morning, it's filthy so I suspect it needs both seals as well. The aluminum also seems very oxidized so I'm not sure this block will be better. When it warms up a bit more to the touch I'll start tearing it apart to investigate my best direction to go from here.
Vervepipes
Well-Known Member
- Joined
- Mar 25, 2014
- Threads
- 13
- Messages
- 357
Dodged a bullet, the bracket is bolted onto the block, not part of the casting as I had thought. Makes sense now that I think about it but I didn't have a lot of time to take a good look at it. Work will resume later today I think.
Vervepipes
Well-Known Member
- Joined
- Mar 25, 2014
- Threads
- 13
- Messages
- 357
Prices are cheap online, so I have bought a new intake, exhaust and carb bowl gasket, new needle and seat for good measure. I know some of the gaskets can be reused, but the exhaust one was toast and I'd rather spend the little bit of money to have a trouble free engine.
