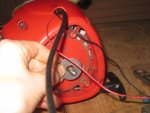
Troybilt Trimmer Broken Pull Cord Repair Help

primerbulb120

Lawn Addict
Joined
Nov 3, 2014
Threads
43
Messages
1,315
IMG_8434.JPGIMG_8435.JPGIMG_8436.JPGIMG_8437.JPGIMG_8438.JPGIMG_8433.JPGIMG_8432.JPG
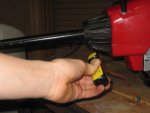
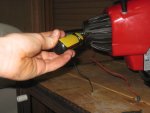
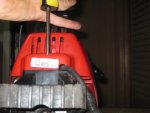
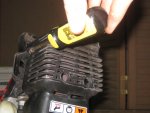
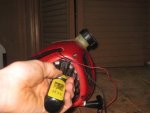
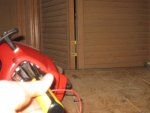
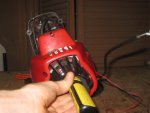
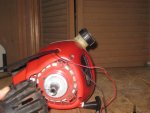
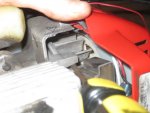
Take the screws out of the handle and remove it.
 

primerbulb120

Lawn Addict
Joined
Nov 3, 2014
Threads
43
Messages
1,315
IMG_8420.JPGIMG_8419.JPG
Remove screws from the side of the clutch cover
IMG_8418.JPG
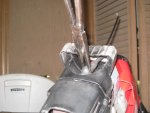
Insert a flatblade screwdriver into the crack at the bottom of the clutch cover and pry it open while removing the trimmer boom
IMG_8416.JPG
Unplug the spark plug wire
IMG_8414.JPGIMG_8412.JPGIMG_8413.JPG
Remove the screws that hold the bottom cover on
IMG_8411.JPG
Remove the bottom cover. This cover is sandwiched between the front and back covers, so you will have to pull and jiggle it to get it off.
 

primerbulb120

Lawn Addict
Joined
Nov 3, 2014
Threads
43
Messages
1,315
IMG_8405.JPGIMG_8407.JPGIMG_8406.JPG
Remove 3 screws in the clutch cover
IMG_8404.JPG
Remove the clutch cover
IMG_8395.JPG
Insert a screwdriver or rod between the fins of the flywheel and brace it against the crankcase as shown. Make sure that the magnet assembly presses against the screwdriver instead of the flywheel fins so that you do not break one of the fins.
IMG_8401.JPG
Remove a screw inside the clutch
IMG_8400.JPG
Remove the clutch drum
IMG_8397.JPG
Use a wrench to unscrew the base of the clutch. Observe the markings on the clutch base to see which way to turn it.
IMG_8398.JPG
Remove the clutch base
 

primerbulb120

Lawn Addict
Joined
Nov 3, 2014
Threads
43
Messages
1,315
IMG_8392.JPGIMG_8391.JPGIMG_8389.JPGIMG_8390.JPG
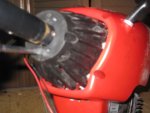
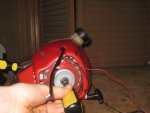
Remove 4 screws in the blower housing
IMG_8386.JPG
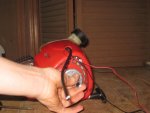
Remove the blower housing
IMG_8379.JPG
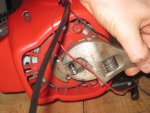
Disconnect the wires from the blower housing
IMG_8382.JPG
Remove a small metal sleeve from the crankshaft
 

primerbulb120

Lawn Addict
Joined
Nov 3, 2014
Threads
43
Messages
1,315
If you have any questions or run into any problems while taking the trimmer apart, post them. When you have it apart, inspect the blower housing/crank assembly for any problems. Post pictures of it too. If you need help getting it back together after the repair, I have taken pictures for that also. I will keep checking this thread until your repair is completed.
 

Kennykenny

Active Member
Joined
Nov 30, 2013
Threads
21
Messages
93
If you have any questions or run into any problems while taking the trimmer apart, post them. When you have it apart, inspect the blower housing/crank assembly for any problems. Post pictures of it too. If you need help getting it back together after the repair, I have taken pictures for that also. I will keep checking this thread until your repair is completed.

Thanks. It might be a week or two prior to getting to the repair. Thanks for all of the effort!!
 

Kennykenny

Active Member
Joined
Nov 30, 2013
Threads
21
Messages
93
If you have any questions or run into any problems while taking the trimmer apart, post them. When you have it apart, inspect the blower housing/crank assembly for any problems. Post pictures of it too. If you need help getting it back together after the repair, I have taken pictures for that also. I will keep checking this thread until your repair is completed.
Just curious, before taking it apart, am I going to need a new rope even though the rope is not broken?
 
Top