My Lawn Mower Repair Thread (56k warning)

hanyoukimura

Well-Known Member
Joined
Jun 19, 2011
Threads
23
Messages
382
Some good progress today. The reason for no spark was that the ground wire had been been spliced together with a butt connector, but one end wasn't actually crimped. Swapped over the coil and ground wire from the busted engine, and with a shot of carb spray it started up briefly. It'll need more carburetor work but at least now I know it runs.

Speaking of the other engine, I took a closer look at it. Sure enough, the connecting rod broke where it meets the crankshaft.
 

hanyoukimura

Well-Known Member
Joined
Jun 19, 2011
Threads
23
Messages
382
So some good news. I took the carburetor apart and cleaned it out some more, including the metering jet. It still leaks so I'll need to pick up a seat and pin, but it ran great, if at too high rpm so I shut it off...

...which is where I ran into a new problem.

Releasing the blade brake resulted in a terrible screeching sound but not a shutdown. I had to pull the wire off the plug to stop it.

Is that sound caused by not enough pressure on the flywheel due to a worn spring? I ask because whoever owned this little gray mower last jammed the blade brake in the released position with a piece of wood, because they were too cheap to replace the broken cable.

Fix one problem and you get another! Still, good to know it runs and will stay running now. Progress. :smile:
 
Last edited:

hanyoukimura

Well-Known Member
Joined
Jun 19, 2011
Threads
23
Messages
382
Turns out the blade brake was all messed up. Lucky for me I happen to have a spare. :D

It's made the move to the Craftsman deck now. I need to attach the blade and get a seat and pin, but otherwise things are coming along.
 

Two-Stroke

Lawn Addict
Joined
May 7, 2010
Threads
23
Messages
1,594
It sounds like you've been productive. I'm still waiting to hear about the two-stroke Toro. Also, you mention a Lawn-Boy in your profile -- what's the model number? I've got a couple LBs that I need to work on.

I had a great weekend mowing. The grass is growing at a good clip here in the South. :biggrin:

My beloved Lawn-Boy model 7266 was hard to start and didn't run quite up to par even when warmed up. The problem seems to be the air filter element -- I'm going to try another one.

The Suzuki-Toro ran great and did all the tough mowing (tall grass, uneven terrain) so I'm very happy with it.
 

hanyoukimura

Well-Known Member
Joined
Jun 19, 2011
Threads
23
Messages
382
And we have success! Turns out that big leak was from the bowl itself, must have a pinhole in the bottom of it because when I removed it there was no gas at all in there and the gasket was dry. I ended up putting a new seat, float, and pin in there anyway. Starts first pull and runs great, and besides the lack of a dipstick, it looks just like it originally did.

So long as it doesn't leak overnight, all that's left to do is find a longer blade mount to compensate fr the shorter crankshaft, clean it up and change the oil and it'll be good to go.

I'll get some photos once its cleaned up.

The next thing on my list will be to get the Craftsman with the Briggs engine running correctly. It'll start up but idles erratically.

After that a round of tune ups for all the working mowers, cleaning them up, and they'll be ready for Springtime sale.

Once they are ready I will finally take a look at the 2-cycle Toro and the Lawn Boy. :smile:
 

RobertBrown

Lawn Addict
Joined
Aug 20, 2010
Threads
33
Messages
1,279
Your doing a great job and thanks for taking the time to post the info and the pictures.

If you have time, post more info on the wheel/axle fix. I'd like to know what material you used as the sleeve and what size bore for the wheel.
 

hanyoukimura

Well-Known Member
Joined
Jun 19, 2011
Threads
23
Messages
382
It sounds like you've been productive. I'm still waiting to hear about the two-stroke Toro. Also, you mention a Lawn-Boy in your profile -- what's the model number? I've got a couple LBs that I need to work on.

I had a great weekend mowing. The grass is growing at a good clip here in the South. :biggrin:

My beloved Lawn-Boy model 7266 was hard to start and didn't run quite up to par even when warmed up. The problem seems to be the air filter element -- I'm going to try another one.

The Suzuki-Toro ran great and did all the tough mowing (tall grass, uneven terrain) so I'm very happy with it.

Good question, where is the model number located on it? All I see are some warning stickers on the deck.

Your doing a great job and thanks for taking the time to post the info and the pictures.

If you have time, post more info on the wheel/axle fix. I'd like to know what material you used as the sleeve and what size bore for the wheel.

Sure thing!

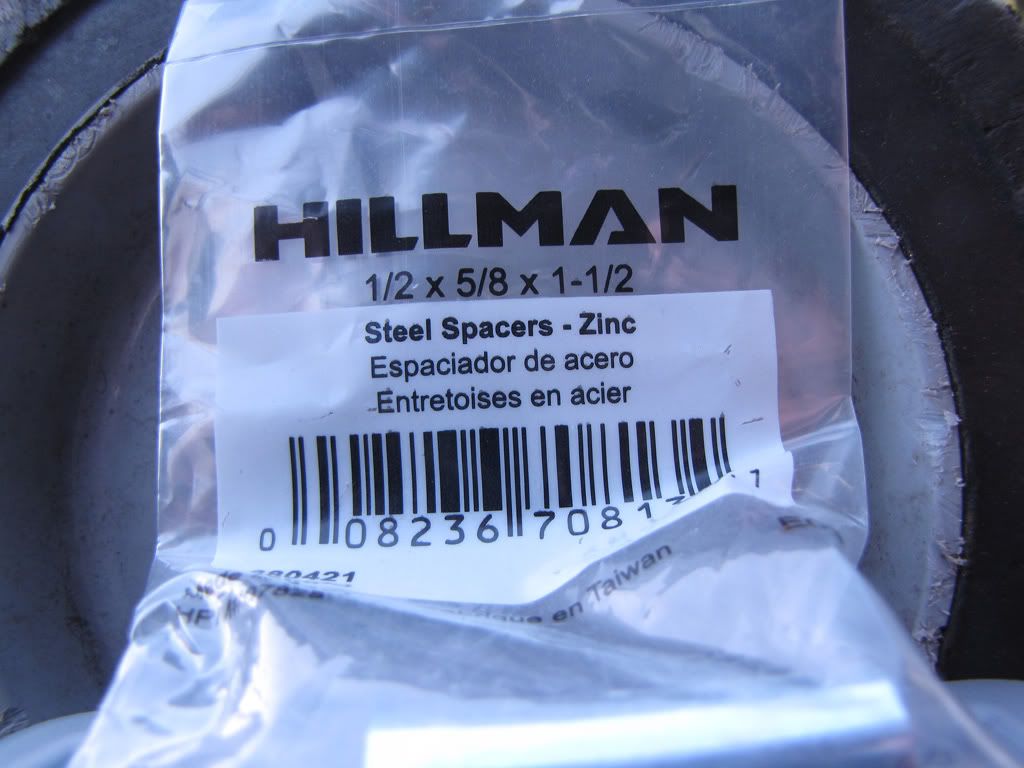
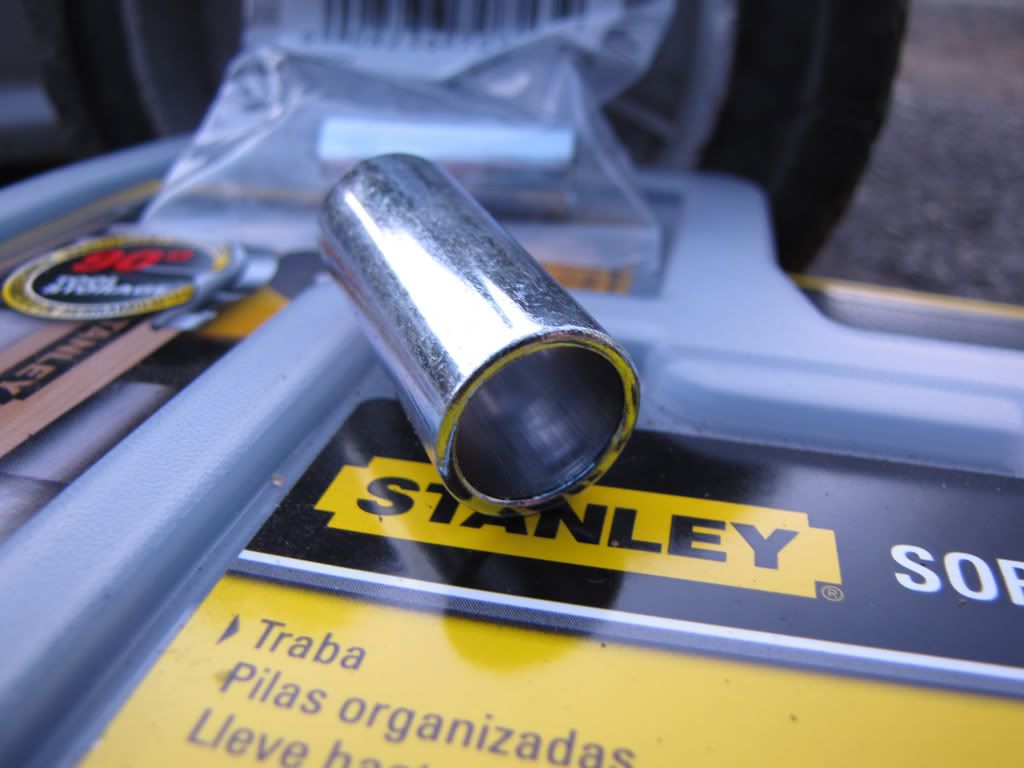
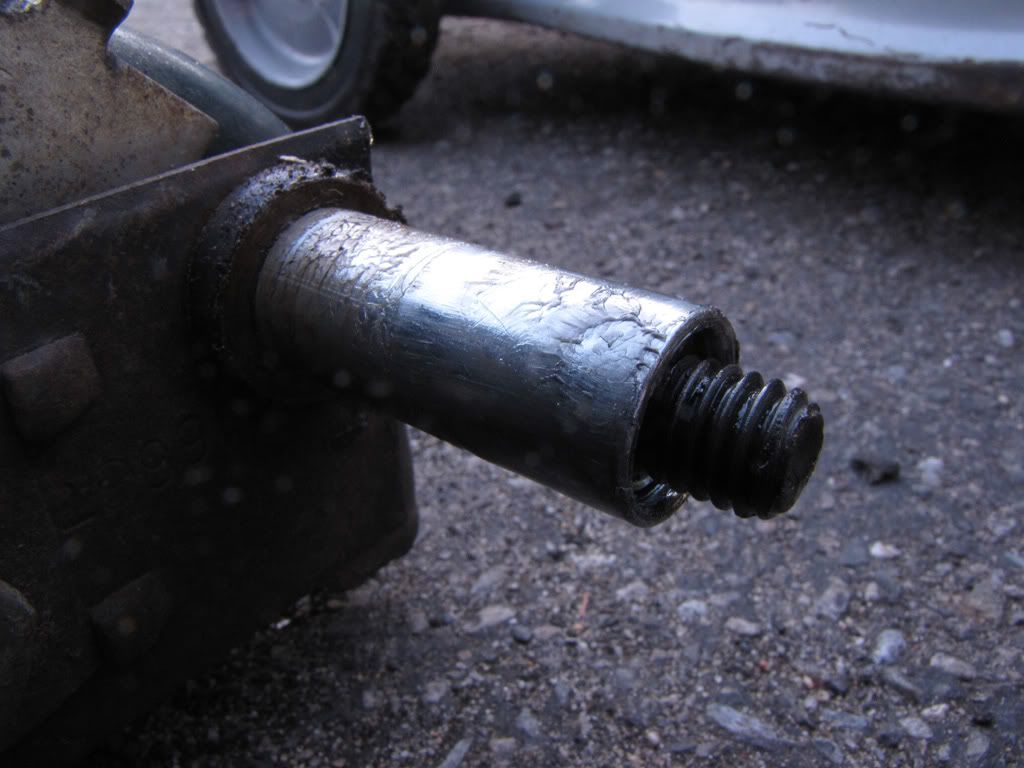
Here is the what I used: a 1/2 x 5/8 x 1-1/2 steel spacer.

IMG_8993.jpg


IMG_8994.jpg


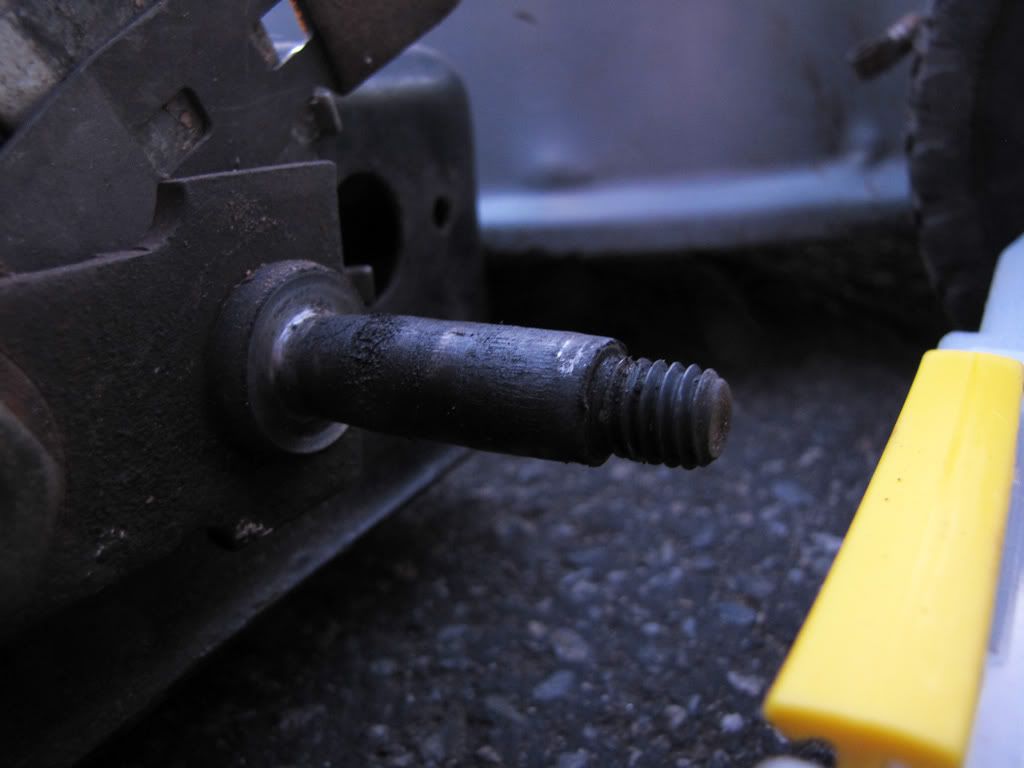
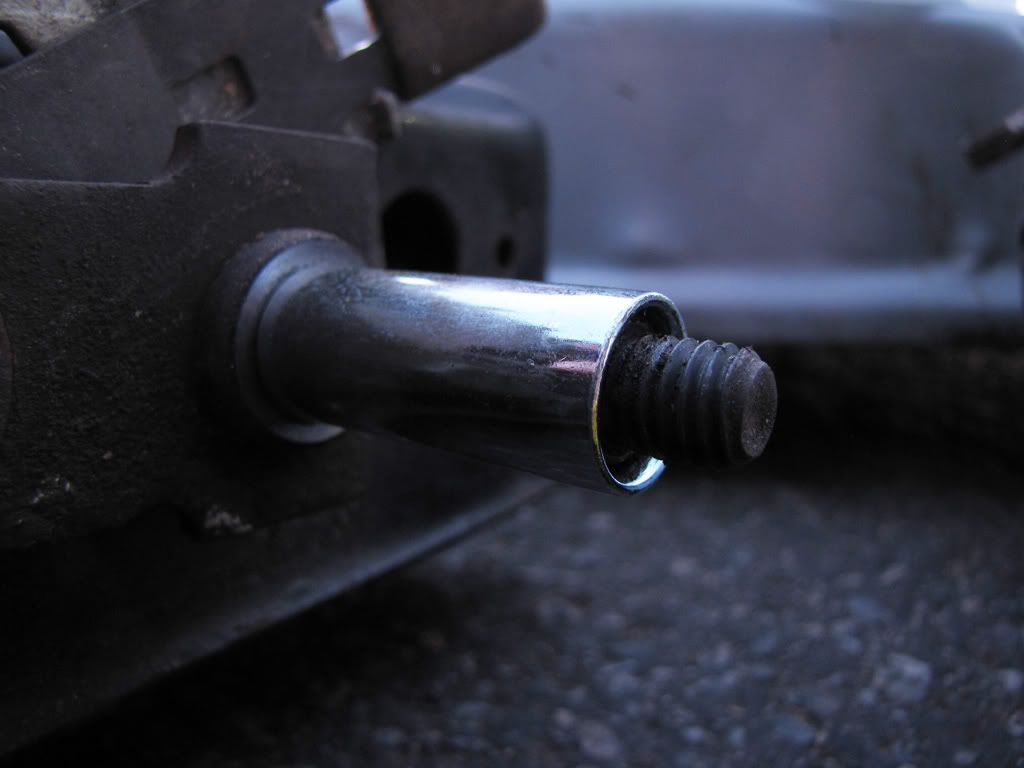
It should slide right over the existing axle, at least it has on two different mowers so far for me.

IMG_8995.jpg


IMG_8996.jpg


Grease it up, I use marine grease.

IMG_8988.jpg


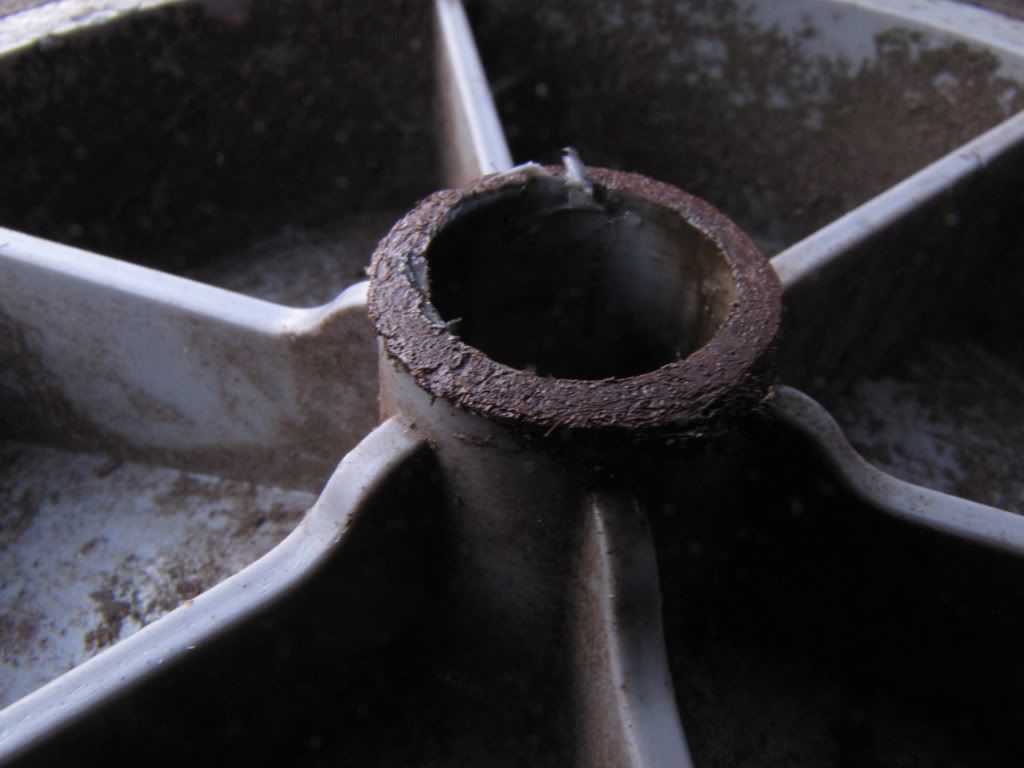
Drill a hole in the wheel slightly larger than the spacer. I'll have to go see which bit I used later.

IMG_8989.jpg


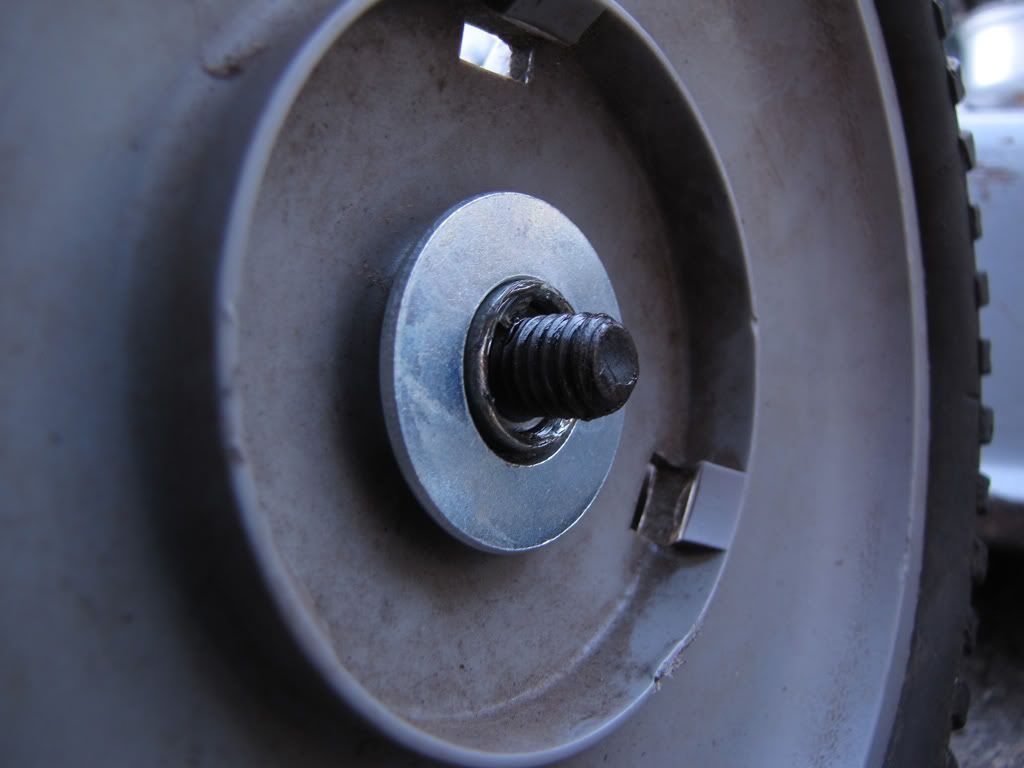
Install the wheel. Because the spacer is a bit longer than the original axle, I used a washer as a spacer to prevent side to side play.

IMG_8991.jpg


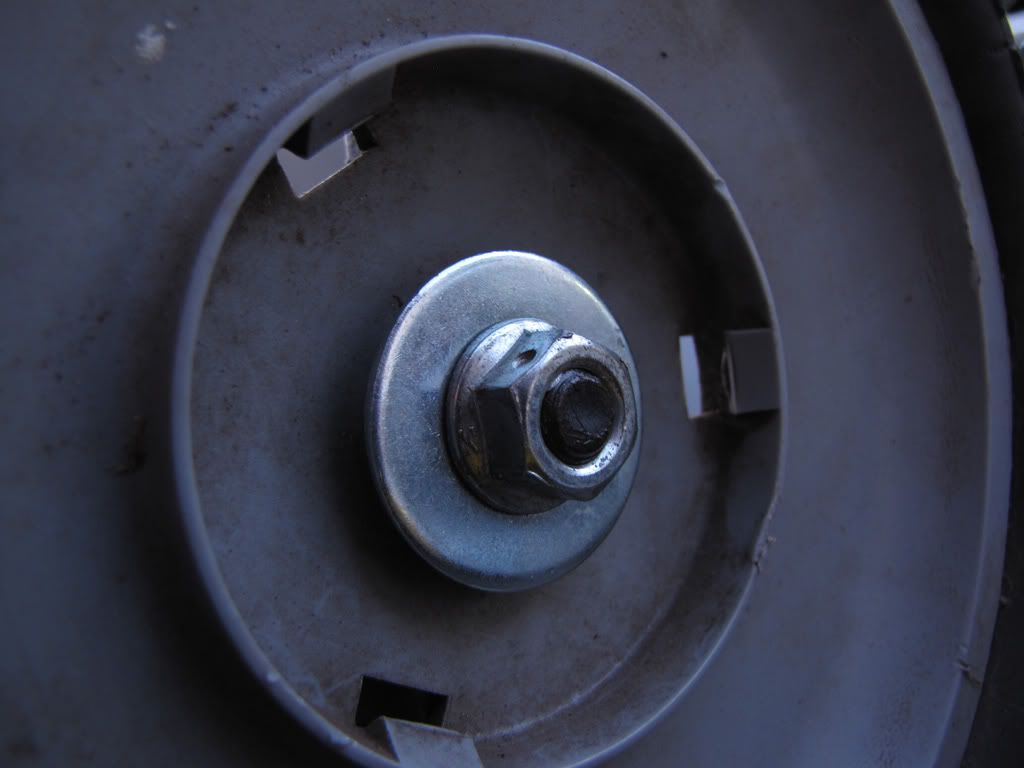
Then just install the nut and she's better than new!

IMG_8992.jpg


Assuming you have the drill bit total cost of parts is about $3. This, compared to axles which can go anywhere from $4 to $15 maybe even higher and wheels that can go from $15 to $25 or more and this is a cheap, effective solution I think. In fact, if your wheels have center caps you'll never even know it wasn't original. :biggrin:
 

natenkiki2004

Well-Known Member
Joined
Apr 22, 2011
Threads
13
Messages
177
Here is the what I used: a 1/2 x 5/8 x 1-1/2 steel spacer.


Assuming you have the drill bit total cost of parts is about $3. This, compared to axles which can go anywhere from $4 to $15 maybe even higher and wheels that can go from $15 to $25 or more and this is a cheap, effective solution I think. In fact, if your wheels have center caps you'll never even know it wasn't original. :biggrin:

That's funny, I just did this same exact thing. I got a free used mower that had a busted wheel. Rather than buying 2 brand new ones, I found 2 used ones on eBay for $22 total including shipping. But I failed to realize they didn't have bearings. Had to buy spacers and some other misc hardware and just used plenty of lithium multi-purpose grease. Plastic hubs riding on a steel axle isn't the best setup but with lube and proper cleaning once a year, I should get the $22 out of these wheels :)

Back to the OP; I love this thread. I've read every post and will keep up on it. It inspires me to do similar work. Some of these mowers may be considered junkers by others but if it functions and looks good after $30, there's profit to be made as well as the enjoyment and knowledge learned with tinkering.

*EDIT*
Here's a pic of it:
http://twitpic.com/8v52z3
New spark plug, new pull cord, new handle, new rear wheels, total carb cleaning with new gaskets & o-rings and new air filter. Surprisingly cold-started with 1 pull the other day in 40F weather, and that was right after I drained the float bowl out!

Sorry if it sounds like I'm trying to hi-jack. I'm just inspired by this thread :)
 

Two-Stroke

Lawn Addict
Joined
May 7, 2010
Threads
23
Messages
1,594
Good question, where is the model number located on it? All I see are some warning stickers on the deck.

On a Lawn-Boy, if the model number isn't on the deck, look on the underside of the sheet metal piece near the top of the handle.

Here is a link to a page with lots of links to Lawn-Boy manuals.
 

hanyoukimura

Well-Known Member
Joined
Jun 19, 2011
Threads
23
Messages
382
On a Lawn-Boy, if the model number isn't on the deck, look on the underside of the sheet metal piece near the top of the handle.

Here is a link to a page with lots of links to Lawn-Boy manuals.

Ok cool, I'll check that out and report back.

That's funny, I just did this same exact thing. I got a free used mower that had a busted wheel. Rather than buying 2 brand new ones, I found 2 used ones on eBay for $22 total including shipping. But I failed to realize they didn't have bearings. Had to buy spacers and some other misc hardware and just used plenty of lithium multi-purpose grease. Plastic hubs riding on a steel axle isn't the best setup but with lube and proper cleaning once a year, I should get the $22 out of these wheels :)

Back to the OP; I love this thread. I've read every post and will keep up on it. It inspires me to do similar work. Some of these mowers may be considered junkers by others but if it functions and looks good after $30, there's profit to be made as well as the enjoyment and knowledge learned with tinkering.

*EDIT*
Here's a pic of it:
New project; pull string, lubed recoil, removed rust off of a... on Twitpic
New spark plug, new pull cord, new handle, new rear wheels, total carb cleaning with new gaskets & o-rings and new air filter. Surprisingly cold-started with 1 pull the other day in 40F weather, and that was right after I drained the float bowl out!

Sorry if it sounds like I'm trying to hi-jack. I'm just inspired by this thread :)

Not hijacking at all. Personally I love to see other people bringing these things back to life. Sure they may not be collectable, but there's something to be said about saving a machine from being turned into scrap and hiving them a new lease on life. I enjoy posting photos, I like to document what I do, especially before and after.

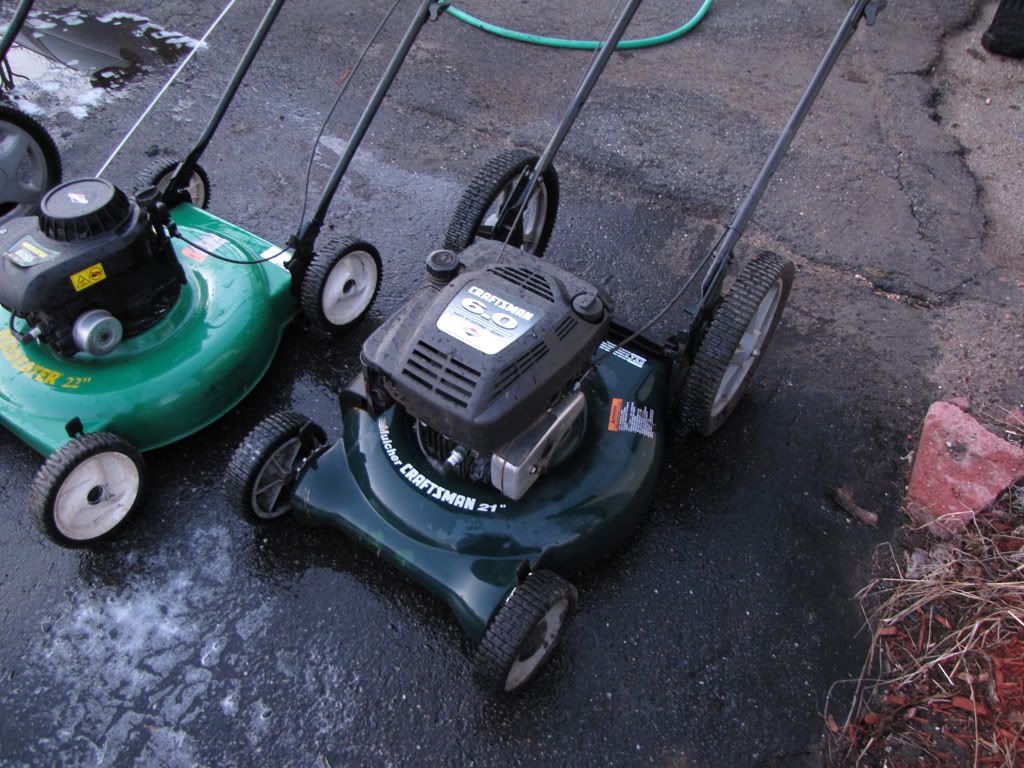
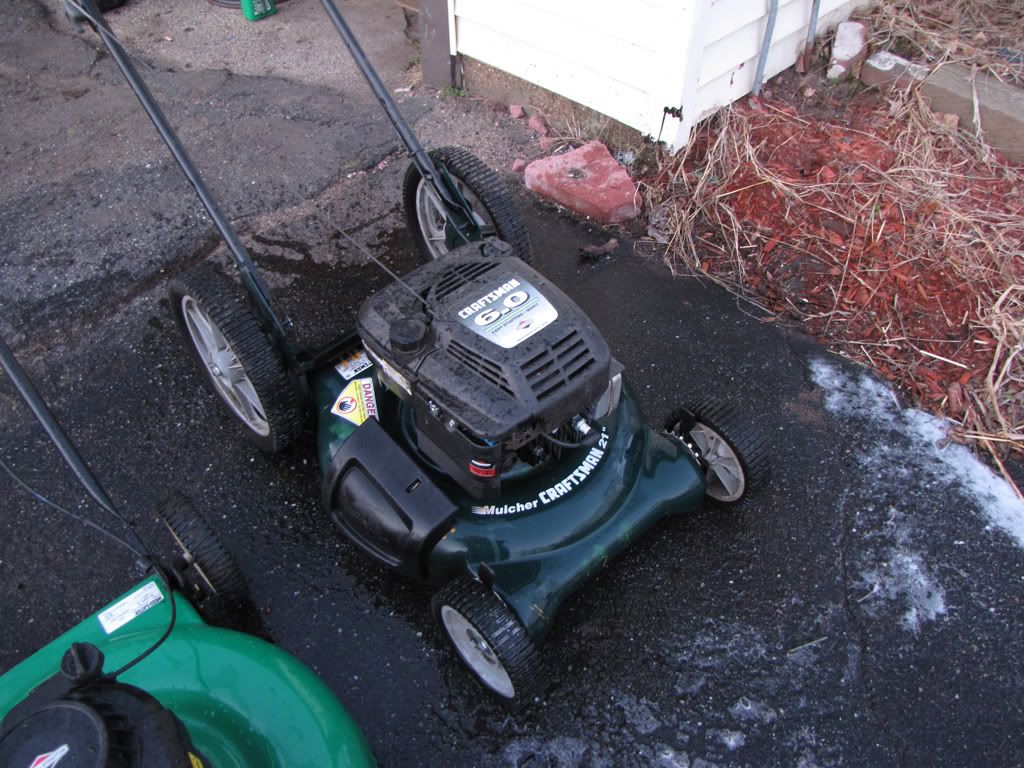
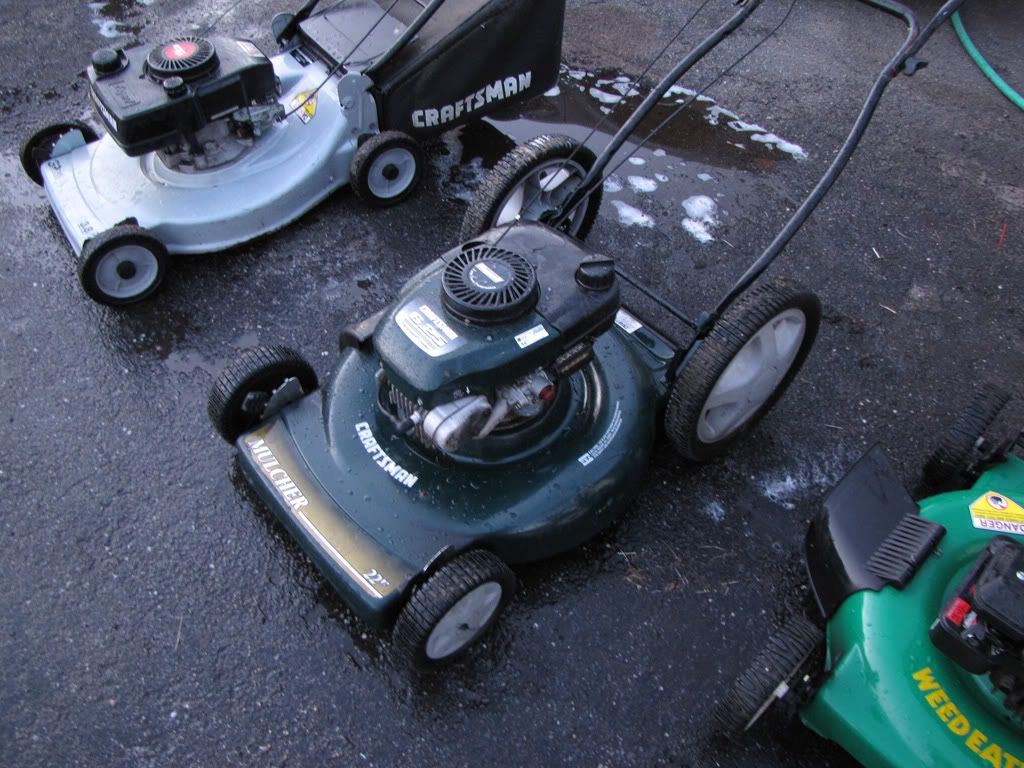
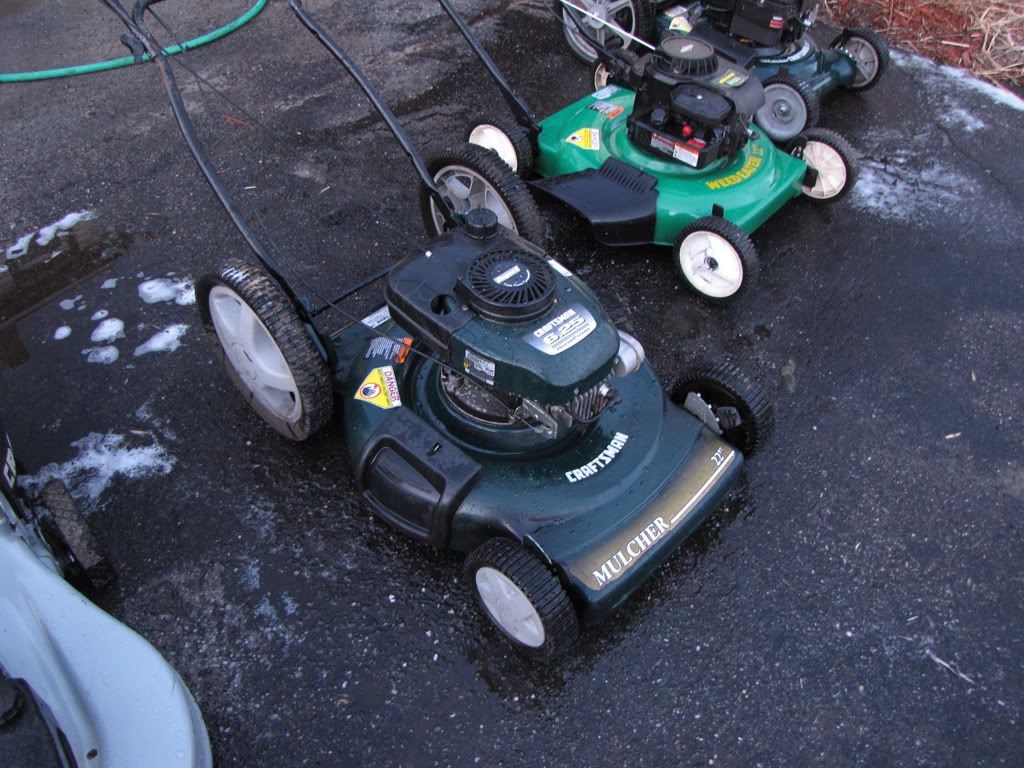
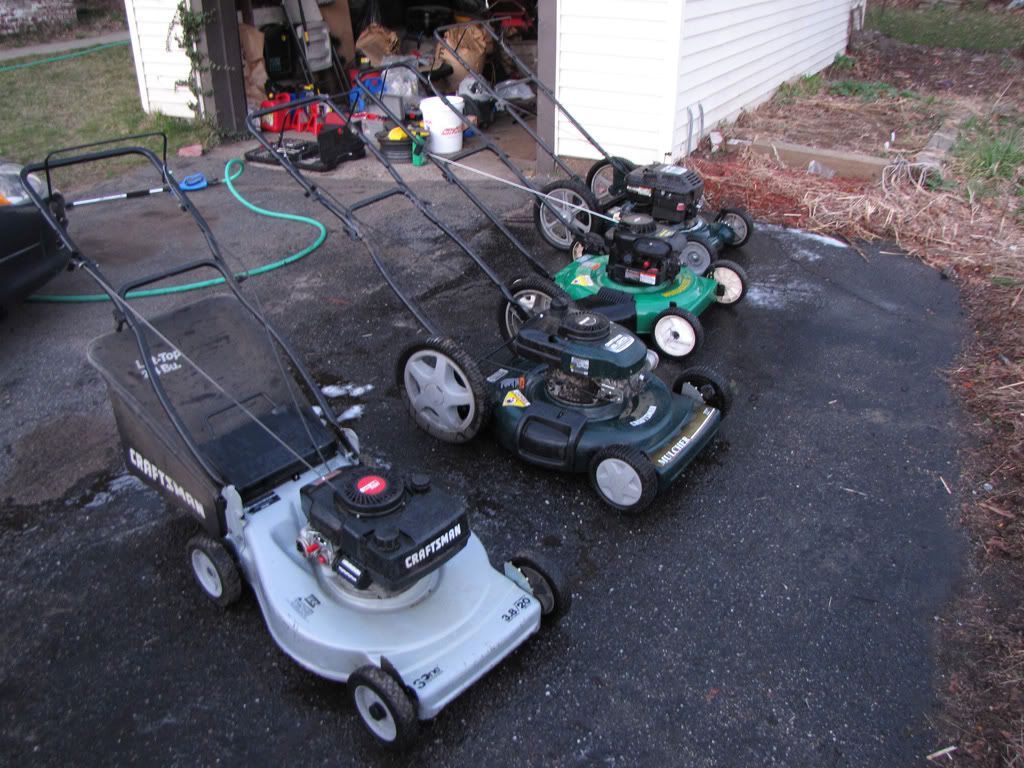
With that said, here are some quick photos taken before the sun went down. They got a quick wash, more thorough cleaning later.

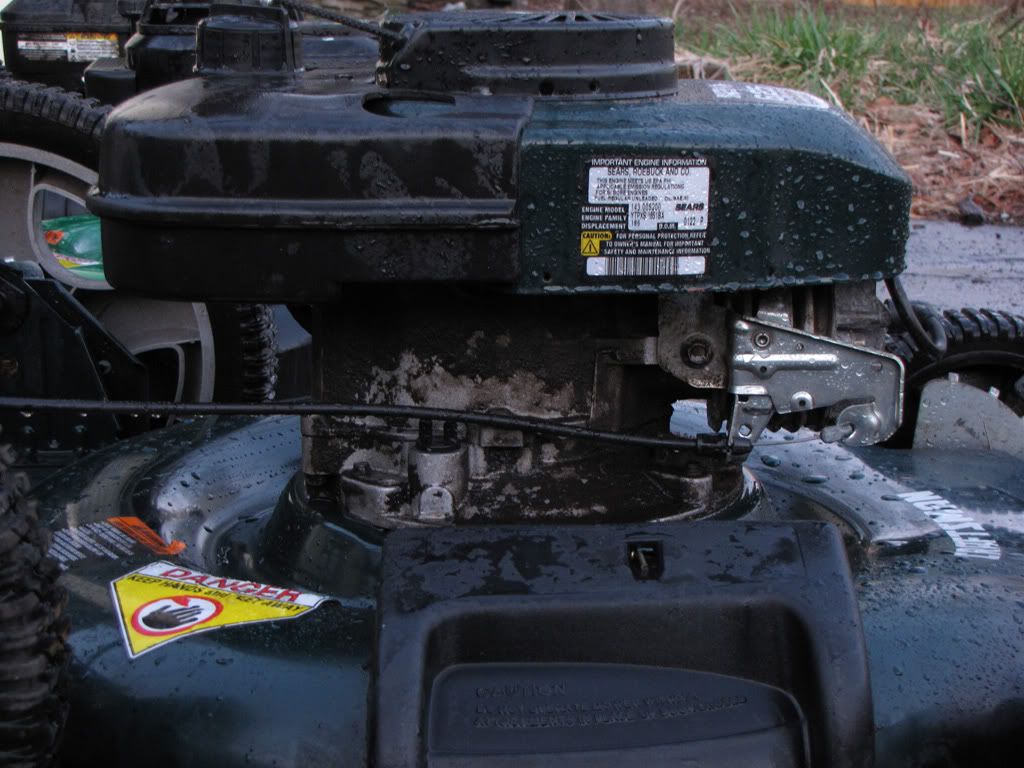
Here is the Briggs Craftsman.

IMG_9005.jpg


IMG_9001.jpg


This one I got running the other day however it would not idle right and sometimes wanted to rip the pull cord out of my hand. I figured broken flywheel key since it was still doing it after I recleaned the carburetor.

So I went to put the blade lock on and what do I find? No blade! Found my problem. Put a blade I had on it and now it runs excellent. Very quite too.

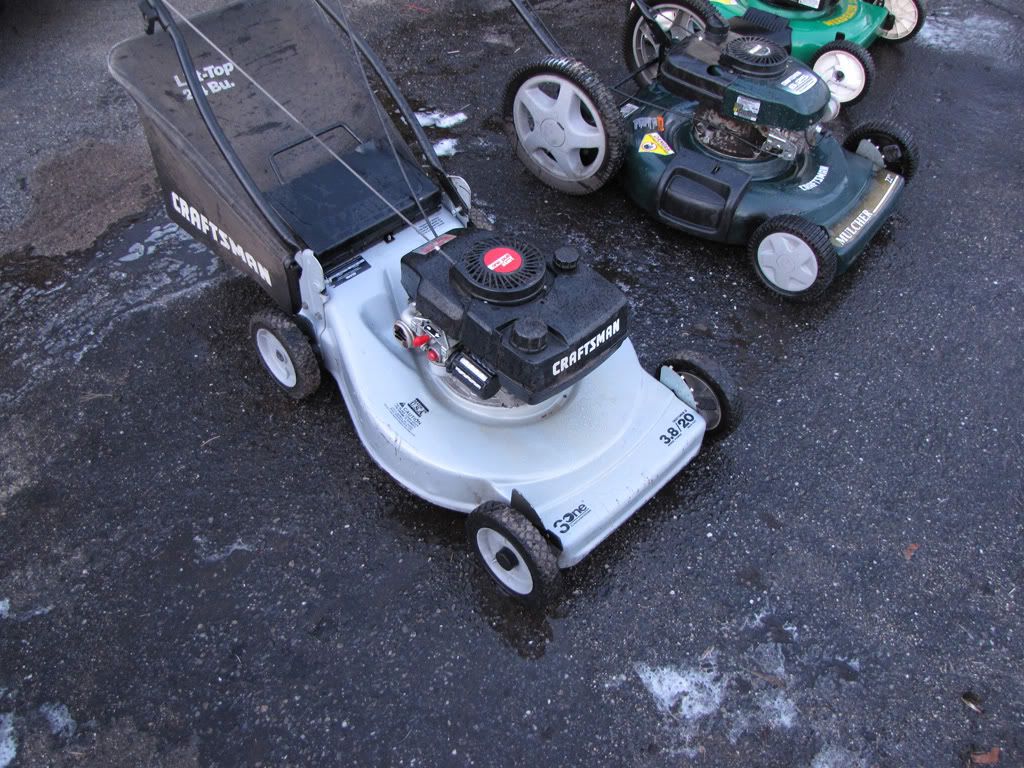
Next up is the Tecumseh Craftsman.

IMG_9003.jpg


IMG_8999.jpg


IMG_9006.jpg


As you may recall, this one's engine had a threw a rod right through the crankcase. So I using parts from it I rehabilitated the engine on the gray MTD mower, then put the newer shroud parts on it. Ended up using the blade brake assembly, ignition coil, ground wire, shroud, gas take, carburetor, and air filter. Then, to compensate for the shorter crankshaft I used a longer blade mount from the MTD OHV engine I have no parts for. The result is a mower that looks just like it would have if it were all original except for the dipstick, because this engine has a threaded oil cap.

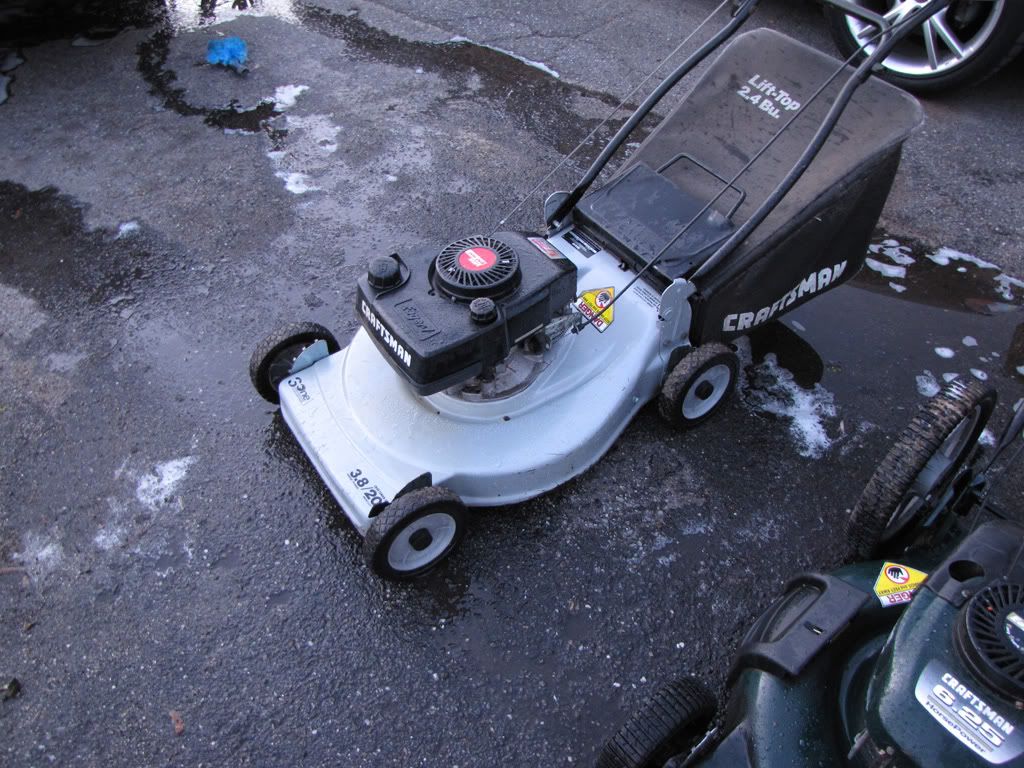
I finally, FINALLY finished this Craftsman from last fall.

IMG_8998.jpg


IMG_9002.jpg


This one kept leaking no matter what I seemed to do, but I finally figured out that the tab on the float for the pin needed to be adjusted, so it's all set. The only thing I may do is swap the shroud with another one because I want that one for another mower I may keep.

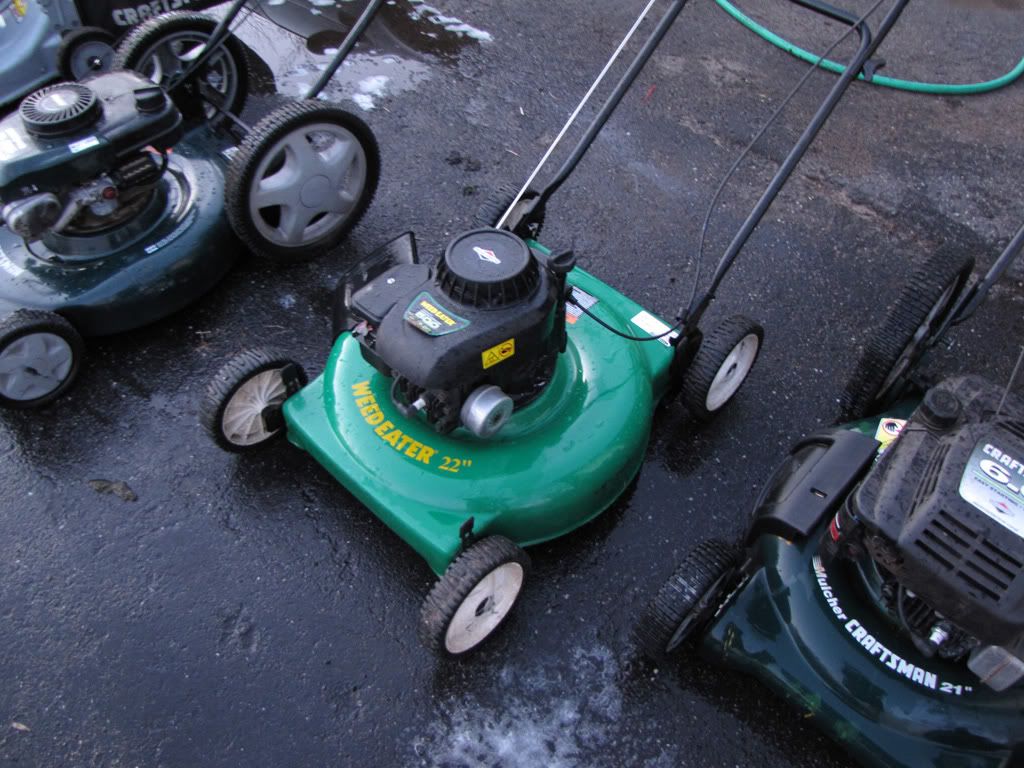
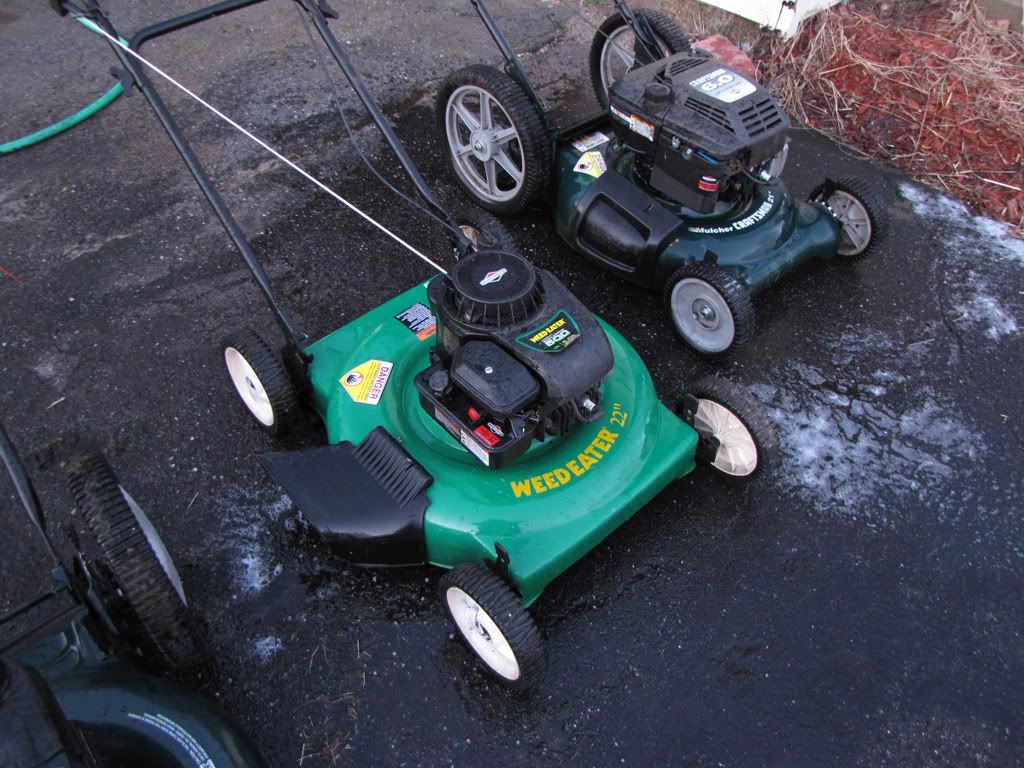
The other one I worked on today was this Weed Eater, which i just cleaned off since I fixed it over the water winter. This little guy is in great shape, probably a couple years old. Still has paint under the deck!

IMG_9004.jpg


IMG_9000.jpg


Its been a productive couple days, besides two oil changes and two blade that need to be sharped and a thorough under deck cleaning for all, these are ready to go. They all start first or second pull and run great. :)

IMG_9007.jpg
 
Top