I added a grease zerk to the front end as suggested. I thought that I would share a few thoughts and pictures from the project in case anyone else was so inclined. I would say that I am far from a machinest, I have never added a threaded screw to steel in my life. To those in the crowd who are machinest's, feel free to correct my redimentary instructions.
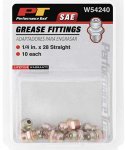
I bought a small pack of grease zerks for a few dollars. Size 1/4-28 (pretty standard size).
To determine the size of the drill bit required before using a tap, I referred to chart like this:
http://www2.mae.ufl.edu/designlab/Lab Assignments/EML2322L Tap Drill Chart.pdf
For a 1/4-28 zerk, I needed a #3 drill bit (#3 refers to "wire size" which is an alternative sizing system similiar to metric or SAE)

I took the cap off of the top of the front suspension using a screwdriver to loosen it up and then a pipewrench to remove it.
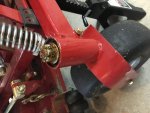
Once the cap is off, there is a crown nut and cotter pin. Remove the cotter pin and crown nut. The axle will fall out from below. Internally, from top to bottom, there is: 2 washers...angled bearing...angeled bearing...retaining ring (very bottom of suspension component)
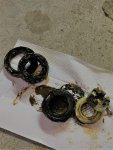
All of these were removed and cleaned with mineral spirits. (no picture of cleaned components)
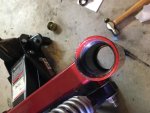
I then drilled though the mid-section of the joint (large void in-between the bearings) using cutting oil to cool/lubricate. I then used a 1/4-28 tap to thread the hole and installed the zerk with locktite.
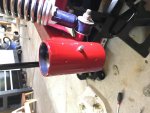
I "packed" the 2 bearings by hand (big dollop of grease on the palm, force grease into all of the nooks and cranies) and reinstalled all components. Before I put the cap back on, I used the zerk to make sure that grease came out the top and bottom. I put a little grease inside the cap and reinstalled. Finished!
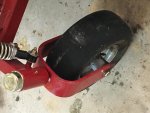
Final analysis - totally worth it. Packing the bearings is a 1/2 day job. Using a grease zerk takes minutes. Thx for the idea!