Scotts 42589X8 Drive Belt Replacement Help/Diagram

buddyc

Forum Newbie
Joined
Jun 21, 2014
Threads
1
Messages
4
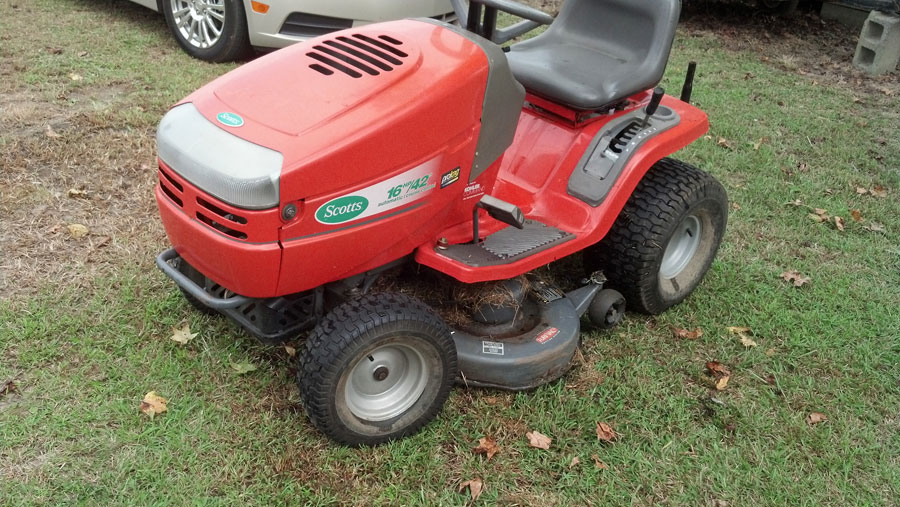
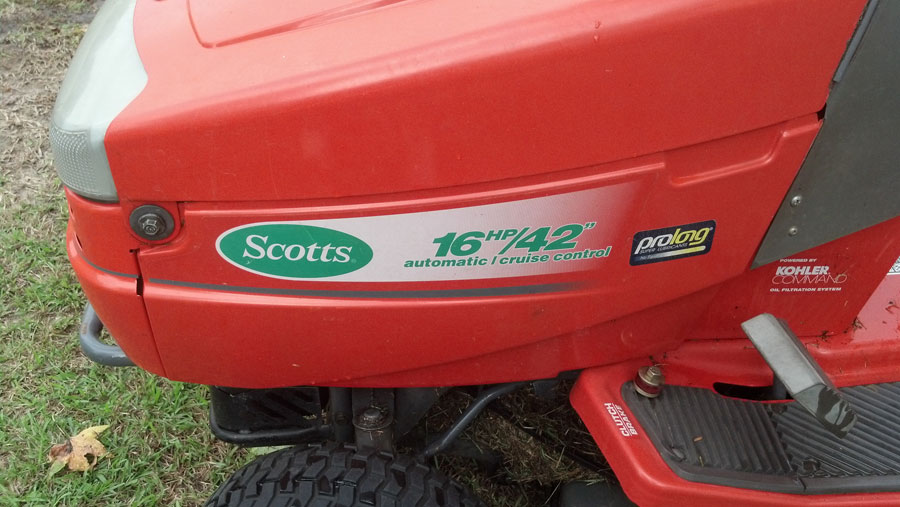
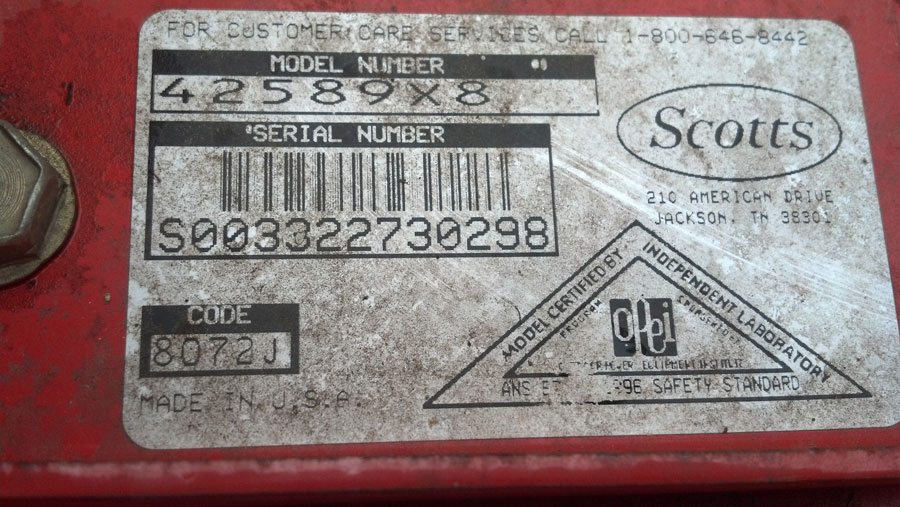
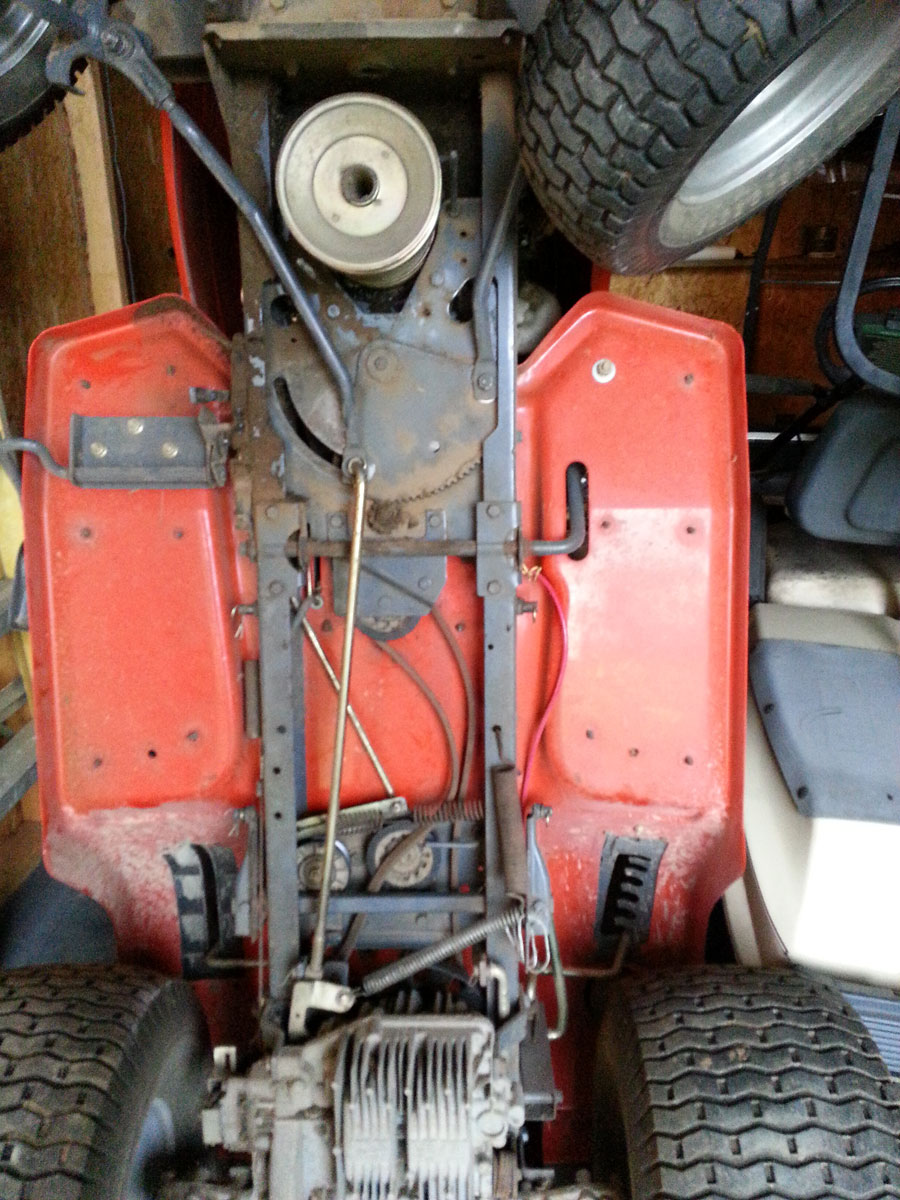
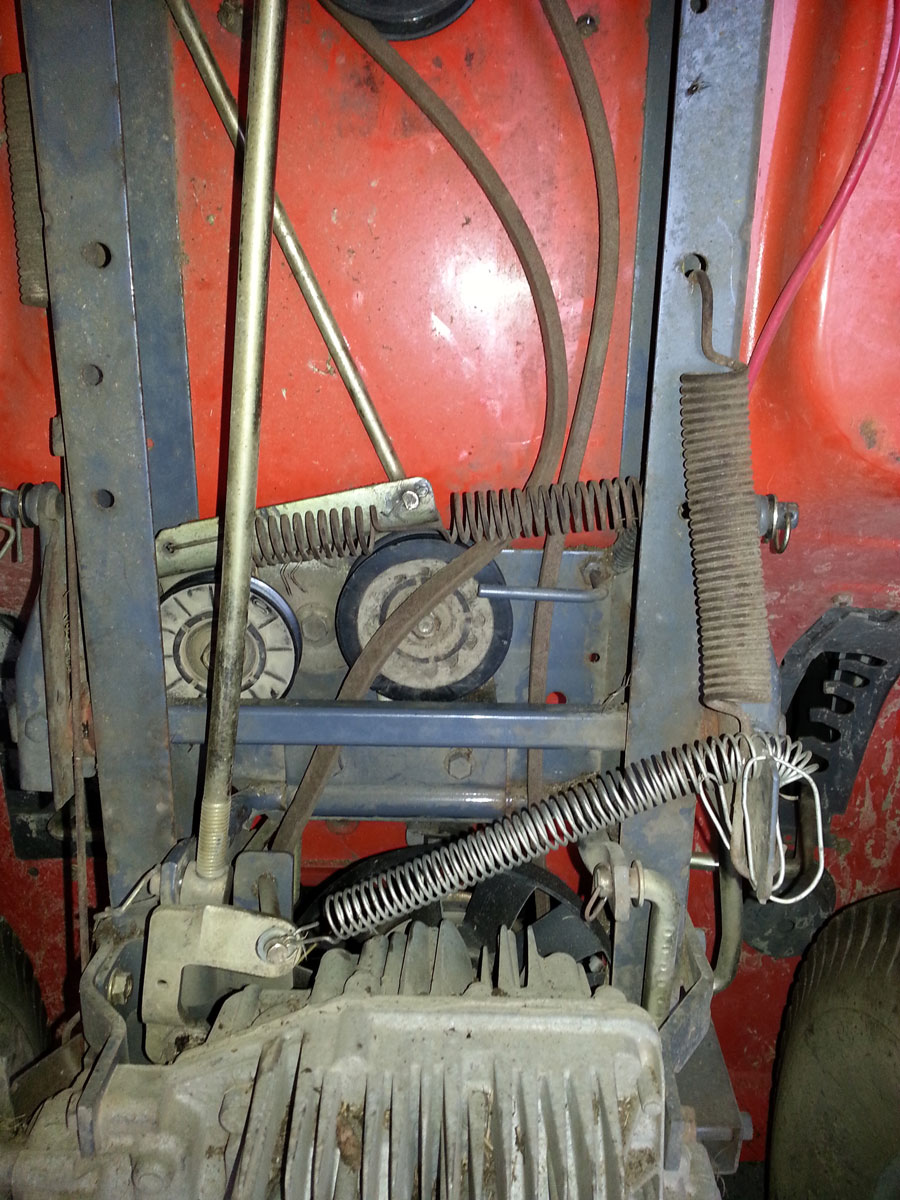
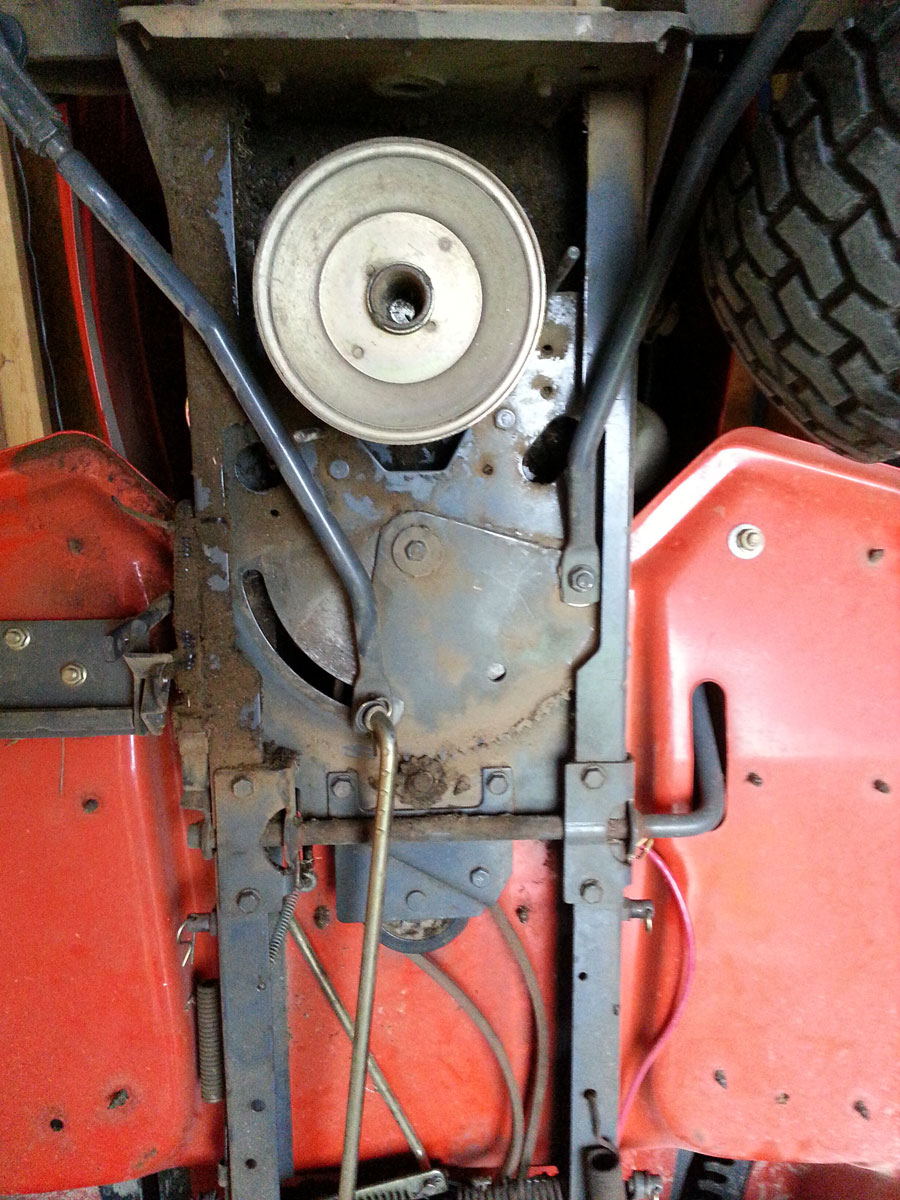
I have a Scotts 16 hp 42" lawn tractor which I believe was built by Murray. It belonged to my cousin who passed away and while we are probating his will, I'm using it to take care of his property in Alabama. The drive belt broke and I got a new one at a local shop here in my home town. But when I tried to put it on today, I was stumped. I could not figure it out. Does anyone have a diagram of how the belt should be routed? Do you have to remove the steering wheel to install it? I will be out of town (and away from my computer) starting Sunday 06/22/2014 so I can't answer you until I return next Sunday 06/29/2014. Thanks for any help!

scotts.jpg


scotts1.jpg


scotts2.jpg


scotts3.jpg


scotts4.jpg


scotts5.jpg
 
Last edited:

buddyc

Forum Newbie
Joined
Jun 21, 2014
Threads
1
Messages
4
  • / Scotts 42589X8 Drive Belt Replacement Help/Diagram
Well, it works :smile:. Use the same routing on the web page I noted. You will have to remove the steering column (the column goes through the belt) but I finally have a new drive belt on. And it helped to remove the gas tank during the installation. I hope this helps some others out there with the same problem.
 

buddyc

Forum Newbie
Joined
Jun 21, 2014
Threads
1
Messages
4
Thanks Mark.

I also called Murray and they mailed me a copy of the owners manual (a little late for this) but I will probably need it for something else. And it was nice of them to send it to me for free.
Here is the page from the manual showing how to install the belt:
http://www.worldclassknives.com/images/Scott Mower Drive Belt.pdf
 

Olrecker

Forum Newbie
Joined
May 18, 2021
Threads
0
Messages
1
For anyone looking to do this it wasnt too bad. Take off the deck and move it out of the way. I started at the motor pulley (drive belt is top pulley) and worked my way inside the belt guides there and pulled the belt towards the rear on the movement pedal side of the pulley by steering column in the cavity between motor section and bottom plate. You do not have to take steering stuff off. Just the one guide pin next to the middle pulley. Make sure the belt is around engine pulley and keep the right side of the belt away from the pulley and reinstall the guide (the guide is a bolt with a nut on the other side. Use an open end 1/2 inch wrench on the nut side because you wont be able to remove the box end because of the belt. I learned). Now you need to feed the belt loup toward the tranmission pulley and loup it around the tranny pulley. Now you need to take the two pulleys near transmission off. I used a clamp to hold down the brake pedal to provide room to work. You can use the emergency brake but I got an extra inch using a clamp. You need to put the grooved pulley together first, its next to frame, put the belt into the grove and put the pulley in place and tighten the nut. Last is the guide pulley, put the flat side against the pulley and work it back on with the belt inside the guide and tighten the nut. Take the clamp off and you are done. I took off 3 nuts in the process and it took 30 minutes for the belt portion only, but I was doing it without guidance. I didnt lift the tractor at all.
3449E38A-975E-4F01-927E-0B8ECD3C17A3.jpeg

left side of pic is motor pulley and this is an above view of belt routing.
 
Top